Home

Entries Filed Under "Maya"


September 4, 2006

Back to School (or how I saved almost $9,000)

Filed under Animation, Maya, Software

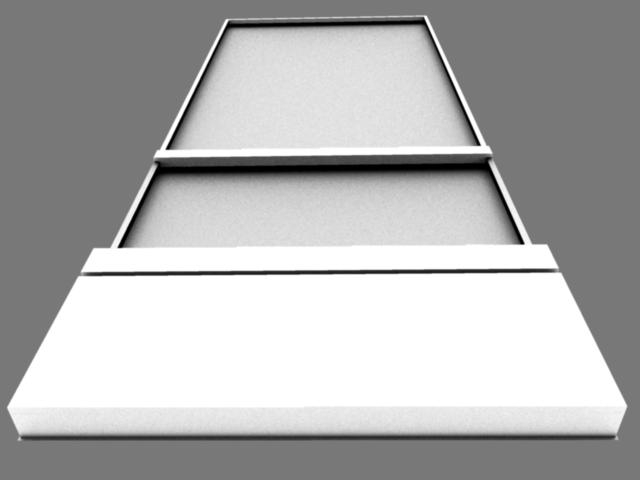
I am officially a student again! I'm taking a 3D Animation class at El Centro College, which is just 2 blocks from my apartment.

Why am I going back to school? While I was at SIGGRAPH in Boston, I saw a bunch of high end software I'd really like to have...but it is *really* expensive. I talked with a company that had a booth at SIGGRAPH called JourneyEd. They said if I was a student, I could get the full versions of software at academic prices.

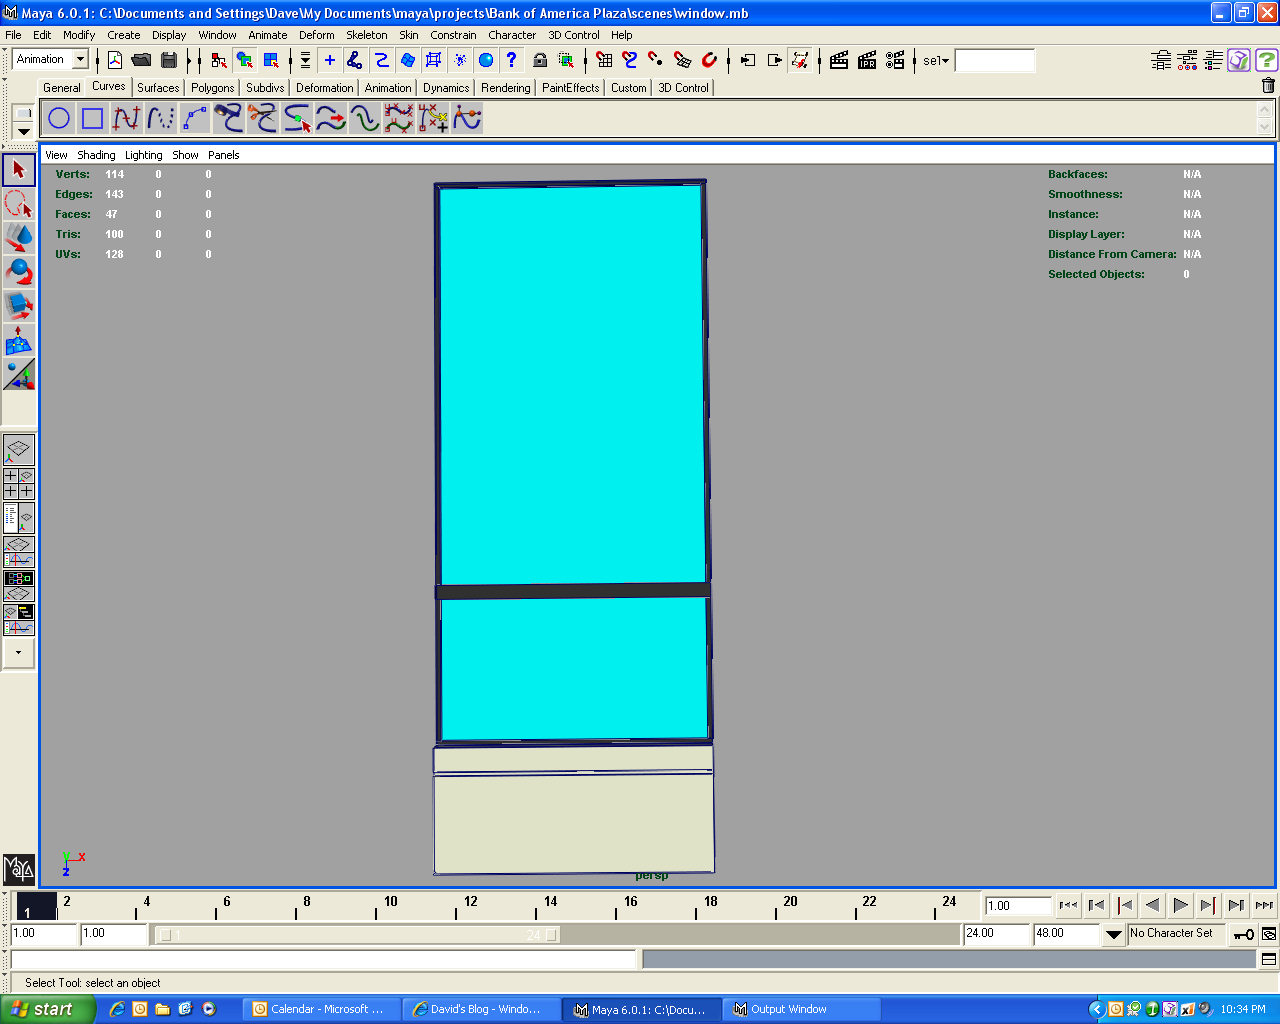
Two years ago I bought a 3D animation tool, Maya 6.0 Complete. It cost me $2,000. Maya has a *very* poor upgrade policy. When Maya 7.0 came out last year, it would have cost me around $1,500 to upgrade! No thanks.

So now Maya 8.0 is out. There are two versions: Complete for $2,000 or Unlimited for $8,000. Academic prices are a *bit* lower: Complete for $289 or Unlimited for $399. I decided to "splurge" and go with Unlimited. Being a student saved me $7,600 off Maya!

I've also been looking at moving to Adobe PhotoShop. Corel's Paint Shop Pro has served me well, but it isn't the industry standard like PhotoShop is. I was also interested in moving from Ulead's Media Studio Pro to Adobe's Premier Pro. If you are going to get both software packages, it is much cheaper to get the Adobe Production Studio Premium, which comes with a bunch of interesting Adobe applications:

  • PhotoShop (image editing)
  • Premier Pro (video editing)
  • Illustrator (vector editing)
  • Audition (sound editing)
  • After Effects (video compositing)
  • Encore DVD (DVD authoring)

The regular price for Adobe Production Studio Premium is $1,700, but students can get it at JourneyEd for $649. That is a saving of $1000.

All told, I saved $8,600! The cost to be a student, after my company kicks in some dough, is $25!

I registered and got my student ID in the same visit to El Centro. As soon as I got my ID, I ran home and placed an order for the software. I wanted the software to get here quick so I paid for next day shipping...which turned out to be really stupid since JourneyEd is located in Dallas. Oh well. The software arrived in 5 days (including a weekend).

To prove I was a student, I just sent JourneyEd a picture of my ID. They said I am eligible for student discounts for one year with my ID! I may have to get Microsoft's Visual Studio Pro 2005 next!

Now that I have my software, I could drop out. But I am not going to. I'm going to stick with my 3D animation class. It's fun! I'm self-taught in 3D animation, so it is likely that I will pick up some things in the class. The class is small...just me a girl. The class is using Apple Macs. The last time I used a Mac, they were black and white (and I'm not talking about case colors). So this is good environment for me to learn about how Mac OS X works. We are using Newtek's Lightwave, which I have never used.

August 20, 2006

Ambient Occlusion

Filed under 3D, Maya

Ambient Occlusion (AO) is a trendy shading method for 3D graphics. It is useful for showing off geometric detail. Most AO renders are a single color, usually white, with no texture. AO is a simplification of global illumination (GI). GI can be very time consuming, whereas AO is relatively quick. Here are a bunch of AO examples. Besides simulating the ambient shadows from GI, AO is also used for "rust shaders" and "dust shaders" since AO is darkest in crevices, where rust and dust are the most likely to exist.

I was using Maya 6.0 which did not have built-in support for AO. I was considering creating my own AO shader for Maya 6.0, but decided instead to just upgrade Maya. Now I'm running Maya 7.0 (with 8.0 on the way).

Maya's AO is accessed as a Mental Ray shader. To do an AO render, create an ambient occlusion texture (Maya->Window->Rendering Editors->HyperShade...->Create->Mental Ray Textures->Mib_amb_occlusion) and drag it with the middle mouse button and drop it on the object you want to render. The Connection Editor will pop up to ask you how to connect the Mib_amb_occlusion to the object. Select the "OutValue" of the Mib_amb_occlusion and the "Surface Shader" of the object. When you render, make sure you choose "mental ray" as the renderer to see the results.


Here are some pics of the window I did for the Bank of America Plaza. This picture is from below looking up at the window.


From the side.


I need to place those windows on the building. First I tried duplicating the window with an offset, which was very time consuming and left me thinking there has to be a better way.

Next I found a plug-in in Maya called "geometryPaint." To use geometryPaint, you pick an object to paint with and then use the "Artisan Brush" to paint the geometry on another object. It seems like this would work well, but I ran into a problem. I set the brush to paint my window at every vertex I touch. For interior windows this is fine, but windows on the edge are a problem. The brush uses the normal of the vertex to determine the orientation of the window. The normals for the interior vertices are correct. The normal for vertices on the edge are shared by two sides, so the brush averages the normals. This gives you windows at an angle...which is not what I want.

I could probably just paint the whole model and then go back and rotate the edge window correctly, but I'm going to try another approach...MEL (Maya Embedded Language) scripting.

August 12, 2006

Placing Windows

Filed under 3D, Architecture, Maya

In the picture above you can see one window (upper center) placed on the building.

I used a lattice (Maya->Animation->Deform->Create Lattice) to make the window fit into the window rectangle on the building. I had some problems when I was trying to snap to vertex since there were so many vertices. I found that I could simplify the scene and then moving the lattice became trivial. I added 4 "locators" (Maya->Create->Locator) and placed them in the 4 corners of the destination of the window. A locator is just a vertex place holder. With the locators in place, I could hide the entire building model and just use the locators. Next, I hid the window geometry and just used the lattice cube. Instead of working with tens of thousands of vertices and struggling to get the right vertex in the right location, I only had to work with 12. MUCH easier and a big time saver.

One window down, thousands more to go. I started using the duplicate command with and offset (Maya->Edit->Duplicate) to position windows. There were two problems with this...it is *very* tedious* to have to type in all the offsets to place a windows and my system started to grind to a halt when I added about 20 floors of windows.

I decided to stop and try a different approach. My new plan to address the placement issue is to use a script plug-in that comes with Maya called "geometryPaint". It sounds like I could describe how windows are spaced on a grid, make the building paintable, and then just scribble on the building until it is covered in windows. There is no documentation for this script as far as I can tell, so I'll need to do some experimenting and digging on the net.

I believe I already have a good solution for the performance issues as I add many windows. In the original window file, I created a 4 vertex plane that represents the window and has the same dimensions as the window. I put both the high resolution window (the original) and the low resolution window (4 vertex plane) in a LOD group (Maya->Edit->Level of Detail->Group). For the LOD group, you can choose to let the distance from the camera determine which model is used or you can set it manually. While I am modeling, I am going to manually set the low resolution window to show. When I am ready to render, I switch it so that the high resolution will show. Since all the windows are "references" (Maya->File->Create Reference....), I should only have to change the LOD group once and it will effect every window on the building model.

July 27, 2006

Window Finished

Filed under 3D, Maya

I finished up a single window for my model of the Bank Of America Plaza. I used a couple of pictures I took as reference photos (here and here).

Being an engineer...I like to make things perfect. However, I don't have the blueprints for this building, so there is a lot of guess work. That is probably the most difficult part for me...using my best judgement instead of using an exact measurement.

I put *WAY* more detail than I needed, because I want the model to capture subtle shadows in the crevices (between windows, the horizontal indention in the base, the horizontal bar across the window, window indention from frame). It took 47 faces to build, which isn't much. However, this window will be repeated on the building over 13,000 times! That will put me at around 600,000 faces! And I haven't even gotten to doing the ground level or the detail on the roof. I will quickly have to figure out how to work with a very polygon-heavy model!

After I finished the window, I tried to attach it to the shell of the building. I *thought* I would just turn on snap to vertex and then use the scale tool to stretch the window to fit inside one of the open window faces on the BOA shell.

Unfortunately, Maya doesn't work that way. Snap to vertex only snaps when *moving*, not scaling. I could not just move my window because I needed to move *and* shrink the window proportionally to fit in the face of the building. My Maya mentor Kyle Rives had a brain storming session on how to best make the window fit precisely in the face on the shell of the building. There were plenty of ways to do it, but I wanted to do it the "right way"...the most efficient way possible. Kyle came up with the idea to try using the animation menu's "Deform->Create Lattice". I never would have thought to look in the animation menu set for the solution to a modeling problem, but it worked really well. I just put a lattice around my window, turned on snap to vertex, and then moved each corner of the lattice to the face of the building. The lattice took care of scaling the entire window appropriately. I still have more work to do on it, but the lattice tool worked really well and is a big time saver.

I'm off to SIGGRAPH...so no more updates until I get back.

July 8, 2006

Building Downtown

Filed under 3D, Maya

My buddy Trey (a.k.a. Spaghetti) and I want to get better at 3D modeling. The problem is that 3D modeling is time consuming and it is very easy to let it drop as life gets hectic. That's where the blog comes in. We are both going to detail our work in our blogs. If I don't see a regular update from him on his blog, then I will harass him until he starts producing...and I expect the same out of him.

Peer pressure has already worked...I was supposed to do this initial blog entry last week, but I got tied up with a few things...which triggered the guilt-inducing emails from Trey. It worked!

Trey will keep me honest...but I welcome prodding from anyone. If you notice I'm not updating my blog with 3D modeling updates, send me an email or post a comment...it will definitely help keep me on track!

So what am I going to model? I want to build downtown Dallas. I am starting with the tallest building in Dallas, the Bank of America Plaza.

The Skyscraper Page is one of my favorite websites for looking up information about tall buildings. Here is their info on BOA Plaza.

I am going to use Maya 6.0 for modeling. We use Maya at work, so anything I learn on this project helps me with my job as well. I use a SpaceBall 5000 to make manipulating 3d models easier (left hand on SpaceBall, right hand on mouse). For manipulating images, I'm using Corel's Paint Shop Pro X.

Here is what I have so far. I built the frame of the building. Next up: add the windows.

All of my updates will be filed under the BOA Plaza Model, which you can search for. Spaghetti's updates are here.

May 26, 2006

SIGGRAPH 2006

Filed under 3D, Animation, Computers, Maya

I registered for SIGGRAPH 2006 today. This will be the 10th consecutive SIGGRAPH I've attended. This year it will be in Boston in late July/early August. I plan on spending a few days checking out Boston before the big show starts (I've never been to Boston before).

Now that I have this blog thing down, I plan on doing SIGGRAPH trip reports directly on this site. Should be fun! If anybody else is going...let me know and we'll hook up at the show.

April 23, 2006

Character Animation

Filed under 3D, Animation, Maya, Reviews, Software, Video

Endorphin

I played with a very cool application this weekend. It is called Endorphin by a company called Natural Motion. Endorphin is used to generate motion for 3D character animation.

Trying to animate a character by hand (using a package such as Maya) is tedious and likely will not capture all the subtleties of motion. An alternative to animating by hand is motion capture or mocap. Mocap requires a studio with expensive equipment that records the location of positions on actors bodies. This motion data is applied to 3D characters so they behave just like the real life actors.

Endorphin is a new twist on character animation. It uses a different approach. To capture motion, you place a "dummy" into your 3D scene. This dummy has highly tweak-able "behaviors" that make it react in a very convincing fashion. Once your scene is setup, you press the "simulate" button to calculate what will happen. Simulations run in real time, so feedback is very quick.

Here is an example I threw together in about 5 minutes. It is very simple. I applied a force to the chest of the dummy to simulate a gunshot. I also applied a behavior to the dummy called "stagger" that is responsible for how the dummy reacts to the gunshot. Then I pressed play to see what happens.

Here is a more complex example. This was also very easy to setup...probably about 10 minutes. I started by having the dummy jump by giving the dummy a jump behavior. I tweaked the jump behavior until the dummy's hands were close to the pole. Then I added a constraint that locked the dummy's hands on the pole. The hand constraint causes the dummy to rock back and forth on the pole. I added another behavior called "legs kick" that adds a bit more life to how the dummy moves his legs move back and forth. Then I undo the constraint to let the dummy fall to his death. It is really fun killing dummies.

The next thing I tried was posing a character. For example, how do you position a character so that it looks like they are sitting in a chair? With Endorphin, it is very easy. Since the dummy reacts like a real human, you just place him in the seat. His body will collide with the chair (not go through it) until he is sitting. And since the dummy understands how humans move, the resting position of the dummy in the chair is very believable. For example, if you try to place the dummy's arm on the arm rest, the rest of the body will react appropriately without letting you create an arm position that a human cannot possibly have. Positioning a character in Endorphin is very easy and a huge time saver verses doing it by hand.

Several big name video games are using Endorphin for their character animation. The new Indiana Jones video game is one example coming out in 2007. Namco's Tekken 5 also used Endorphin for generating the animations of two players fighting each other.

Endorphin is not cheap. The full version costs $9,495 plus 12 months of maintenance for $2,395. If you can't afford to buy their software, you can rent it for $1,195 a month. If you want to use this app for non-commercial purposes, you can get the student version for $995.

I used the free trial version this weekend. The only difference between the free version and the full version is what you can export. The full version will let you export data (via FBX file format, for example) that can be read by an animation package like Maya. You can also export movie clips. The trial version will only export movie clips.

Since you can do all your work in the free trial version, it may be cheaper to get your scenes setup in the trial version and then rent the software for a month in order to get the motion data out. I'm not sure if their license allows you to do this, so I'd check with Natural Motion first.

Natural Motion has several very impressive video clips on their website that show off much more complex examples. Check them out here.

Final thoughts...very fun program to play with. When I do character animation in the future, I will certainly consider Endorphin as the fastest/easiest/cheapest way to get good looking character motion data. Highly recommended.

February 5, 2006

How to use the DirectX Extensions for Maya

Filed under 3D, DirectX, Maya

I wrote up a webpage to show how to use the Microsoft DirectX Extensions for Maya.

How to manually install the DirectX Extensions for Maya

Filed under 3D, DirectX, Maya

I could never get the Microsoft DirectX SDK to install its extensions for Maya. I wrote up a webpage that explains how to install these extensions manually.

With the DirectX Extensions for Maya, you can export the .X file format, use .FX files for materials, and open a Direct3D viewer inside of Maya.

How to stop “Please select the view you want to render” dialog box in Maya

Filed under 3D, Maya

If you use Alias’s Maya, then you have probably run into this. When you open a tool or another window, the focus leaves your 3D view. When you try to render a view, you get this annoying message…

Please select the view you want to render

I put together a web page that explains how to tell Maya to use the last view you had selected for rendering and get rid of this annoying dialog box.

I got a thank you from a Maya modeler that has had the annoying problem for a long time. I wondered how he found my website. I did a search on Google. I found that Google has indexed my website. If you do a search on the above dialog box message, you will find that I am one of the top links on Google!

GamerCard


About Maya

This page contains an archive of all entries posted to David's Blog in the Maya category. They are listed from oldest to newest.

Mavericks is the previous category.

MINI is the next category.

Many more can be found on the main index page or by looking through the archives.

Powered by
Movable Type 3.34