I “attended” the virtual Microsoft Build conference this week. Here is what I found interesting.
MakeCode Arcade
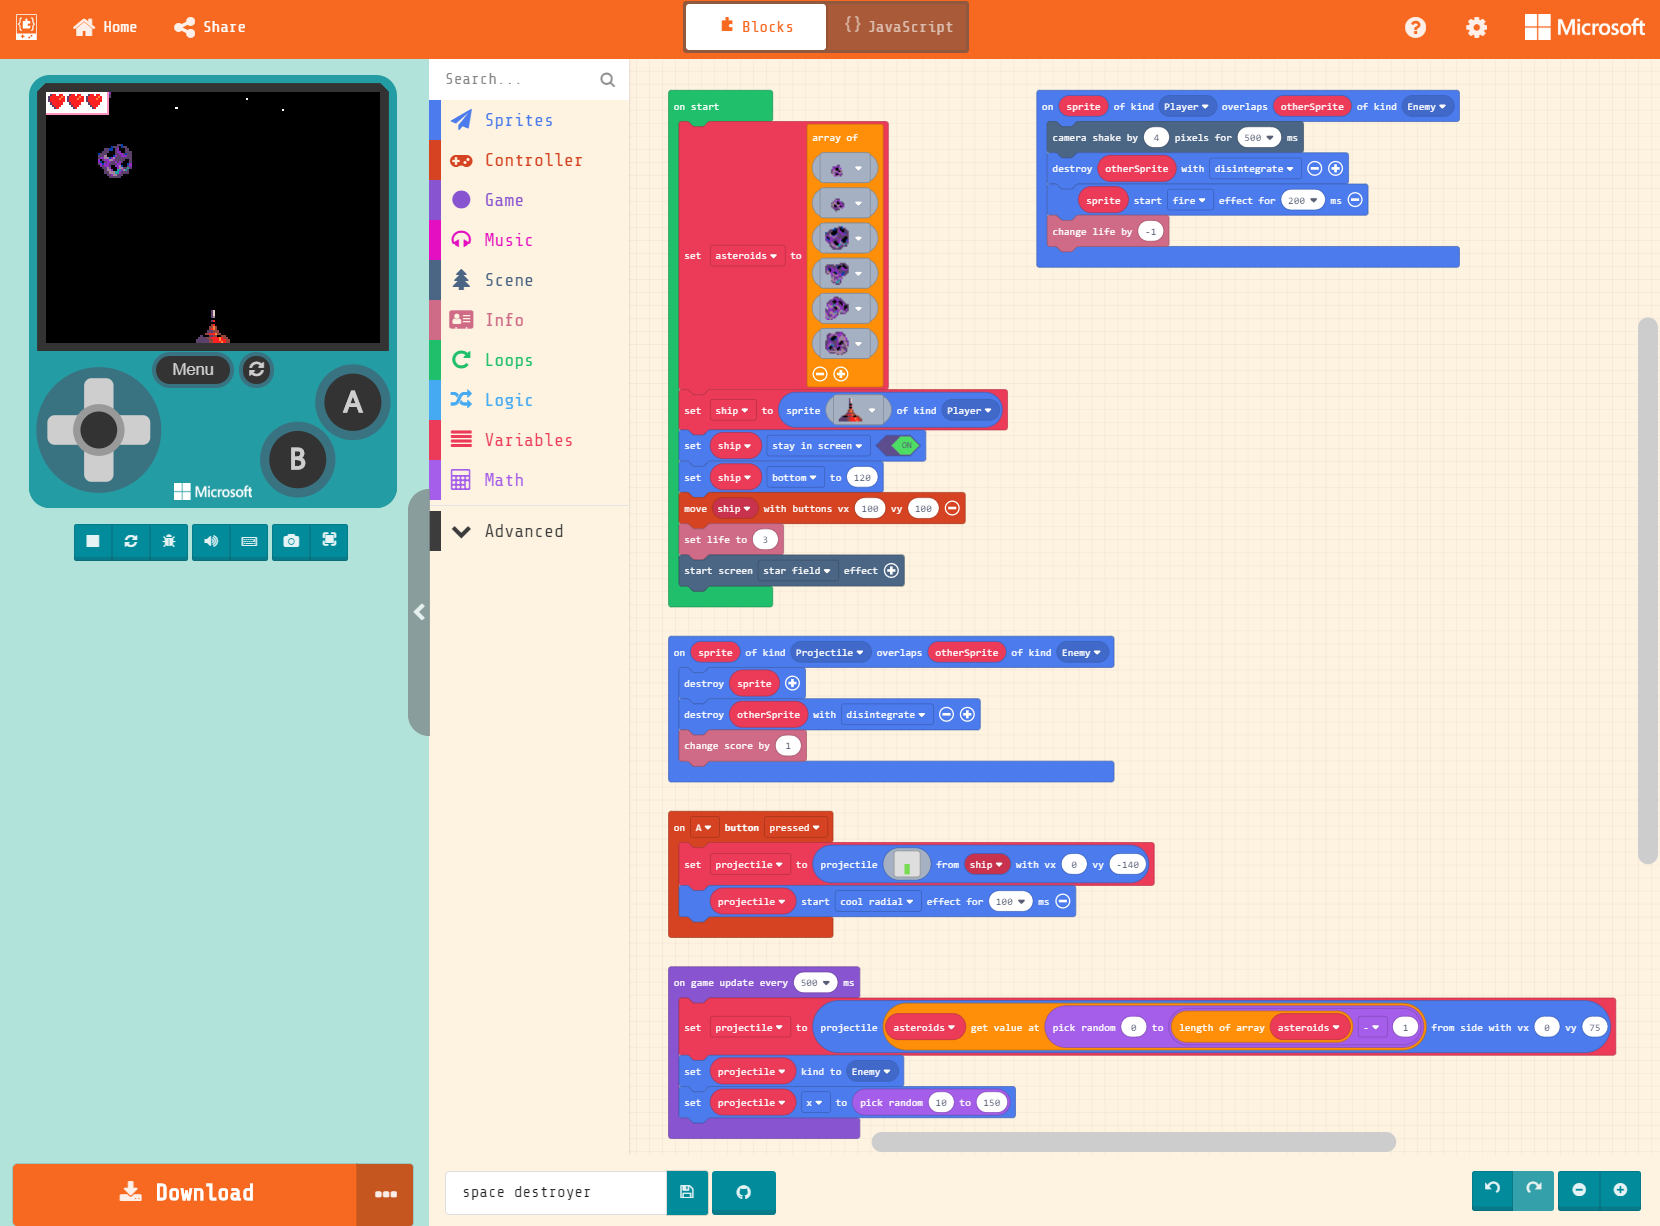
I had no idea anything like this existed. MakeCode Arcade is a website that lets you build old school 8-bit video games using blocks. In the above image, the game is running on a simulator on the left. In the middle is a list blocks you can use to build your game. On the right is where you connect your blocks to create your game.
This is a fantastic way to learn how to program. Blocks include…
- Sprites (graphics)
- Controller (input)
- Game (game loop)
- Music (audio)
- Scene (background)
- Info (score, player lives, timers)
- Loops (for, for each, while)
- Logic (if/then/else, comparisons, Boolean)
- Variables
- Math (basic math, random numbers, clamping, rounding)
- Images
- Functions
- Arrays
- Text (string operations)
- Console (log file)
Here is the part that puts it over the top… Once you have your game ready, you can download it to standalone hardware and play your game without a computer.
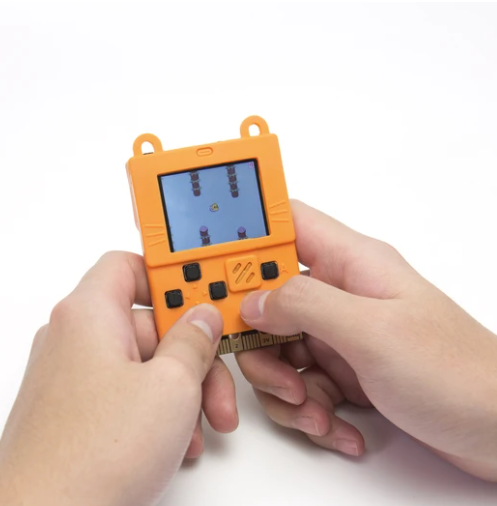
The example above is called “Meowbit” and it goes for $40. There are other options listed under hardware on this page.
I know this is for kids, but I’d love to spend some time playing with this.
More here.
The Windows Package Manager: winget
Windows now has a package manager called “winget.” This means you can easily setup a box to have all the apps you want by running a script. Eventually winget will be part of Windows. You can try it out now from here: https://github.com/microsoft/winget-cli/releases
Not all the apps I want are there yet, but many are. They are adding more apps quickly.
Here is the current list of supported apps as of today (5/21/2020):
I created my own PowerShell script to setup a PC…
#Requires -RunAsAdministrator

# Install winget https://github.com/microsoft/winget-cli/releases
# In same order as 'winget search', using Id
winget install --exact --silent Canonical.Ubuntu
winget install --exact --silent EpicGames.EpicGamesLauncher
winget install --exact --silent Git.Git
winget install --exact --silent GitHub.GitLFS
winget install --exact --silent GitHub.cli
winget install --exact --silent Kitware.CMake
winget install --exact --silent Microsoft.Edge
winget install --exact --silent Microsoft.GitCredentialManagerforWindows
winget install --exact --silent Microsoft.PowerToys
winget install --exact --silent Microsoft.Powershell
winget install --exact --silent Microsoft.Skype
winget install --exact --silent Microsoft.Teams
winget install --exact --silent Microsoft.VisualStudio.Community
winget install --exact --silent Microsoft.VisualStudioCode
winget install --exact --silent Microsoft.WindowsSDK
winget install --exact --silent Microsoft.WindowsTerminal
winget install --exact --silent Microsoft.dotNetFramework
winget install --exact --silent Microsoft.dotnet
winget install --exact --silent Python.Python
winget install --exact --silent ScooterSoftware.BeyondCompare4
winget install --exact --silent SimonTatham.Putty
winget install --exact --silent Spotify.Spotify
winget install --exact --silent Valve.Steam
winget install --exact --silent WinSCP.WinSCP
winget install --exact --silent Zoom.Zoom
GitHub for iOS and Android
Now you can review pull requests on your phone. More here.
Windows Subsystem for Linux 2 supports GUI apps, GPU’s
You will be able to run Linux GUI apps side by side with Windows apps. Linux apps that require a GPU/CUDA will be supported with WSL2. More here.
WebView2
WebView2 is a new UI control that contains a chromium browser with support for WebGL2 that works on all supported versions of Windows. More here.
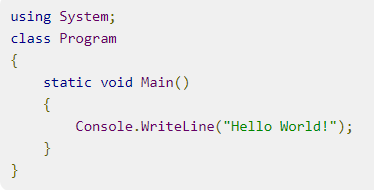
C# 9
One new feature in version 9 is you can write a simple app with less code. Here is how you code “hello world” now…
Same app in C# 9…
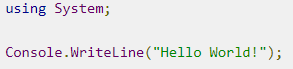
More here.
Codespaces
The idea behind Codespaces is great: one click on the upcoming “Codespaces” button in a GitHub repo and get a VS Code editor running in a browser with everything configured and ready to go for development and debugging. The Codespace VM can also run in Visual Studio 2019 or VS Code.
More here.
Microsoft Edge now on Linux
The new Microsoft Edge browser was shown running on Linux.
More here.
Windows Virtual Desktop
Windows Virtual Desktop (WVD) lets you package up an app and run it with the OS and hardware it needs in the cloud. Users can access it on their desktop as if it was locally installed. It can be used for running 3d apps like Maya, 3ds Max on underpowered machines.
More here.
WinUI 3
WinUI 3 is the latest/greatest UI toolkit for Windows. What is new is that it is decoupled from the OS so that you can use the latest UI controls with older OS’s. Also new, is this toolkit can be used by UWP, WPF, Windows Forms, and MFC. The idea is every Windows app should be able to access the latest UI components.
More here.
.NET MAUI
.NET MAUI (Multi-platform App UI) is Microsoft’s solution for cross platform UI development. This is going to replace Xamarin.Forms. Microsoft will support macOS, Windows, Android, and iOS. The “community” is supporting Linux as they have for Xamarin.Forms.
More here.
Fluid vs Fluent
I was confused. I knew “Fluent” was Microsoft’s UI design language. When I heard about “Fluid,” I thought it was the same thing because it is about UI and it is a similar word.
It isn’t the same thing. Fluid is about making web apps that support collaboration. Microsoft will use it in Office (Word, Excel, PowerPoint, etc.). It is open source.
More here.
Blazer
Blazer let’s you script web pages with C# instead of JavaScript via WebAssembly.
More here.
Access Windows API via Rust language
Rust is now a supported language for building system software (ie building OS’s). It is considered a safer language to use than C or C++, yet still has speed and predictable performance.
More here.
Windows Terminal 1.0
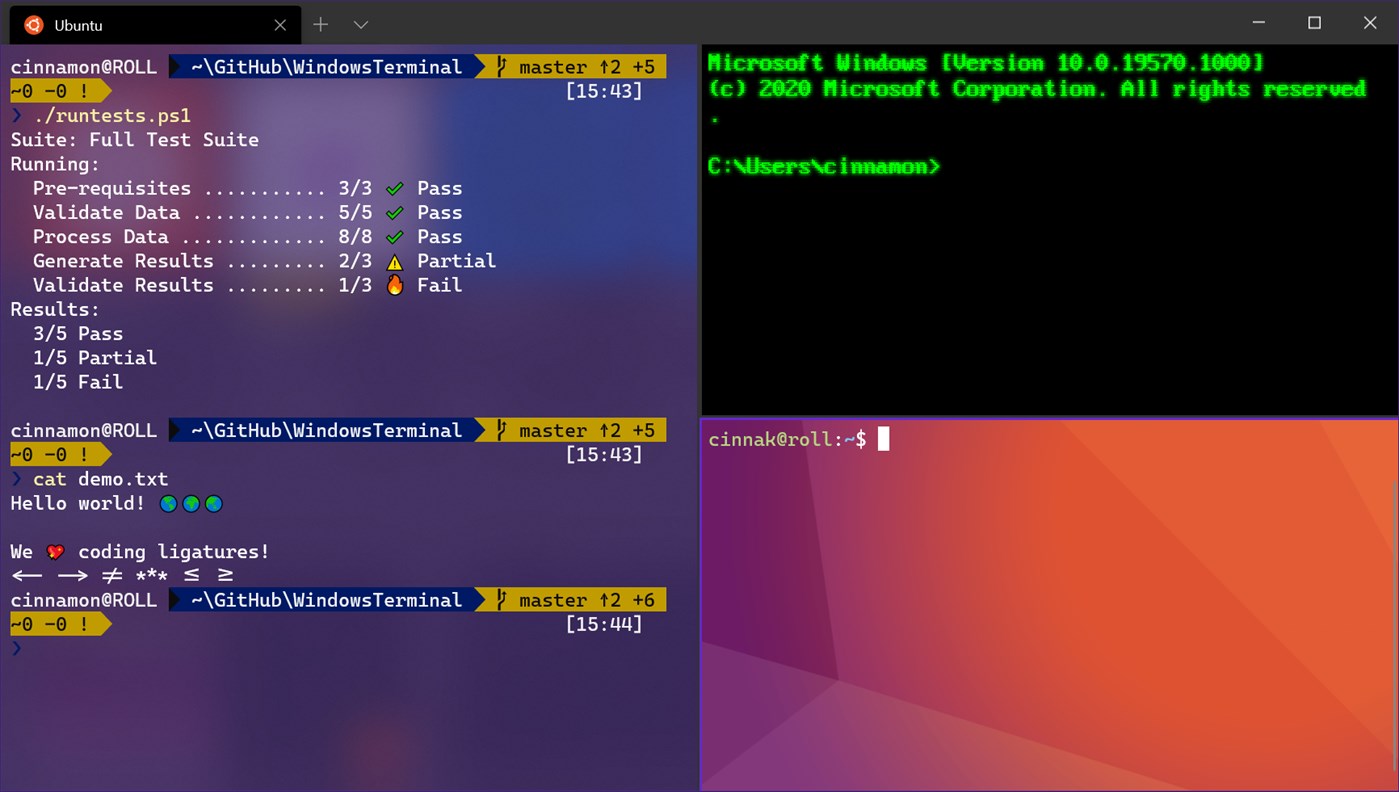
The 1.0 version of Windows Terminal was released. There is a lot to like. It is missing one feature that I use all the time: using Ctrl+Space in PowerShell to see parameters and the options for parameters. There is a bug report for this and it sounds like it is not a quick fix, so I may be waiting for a while before I switch to Windows Terminal.
More here.